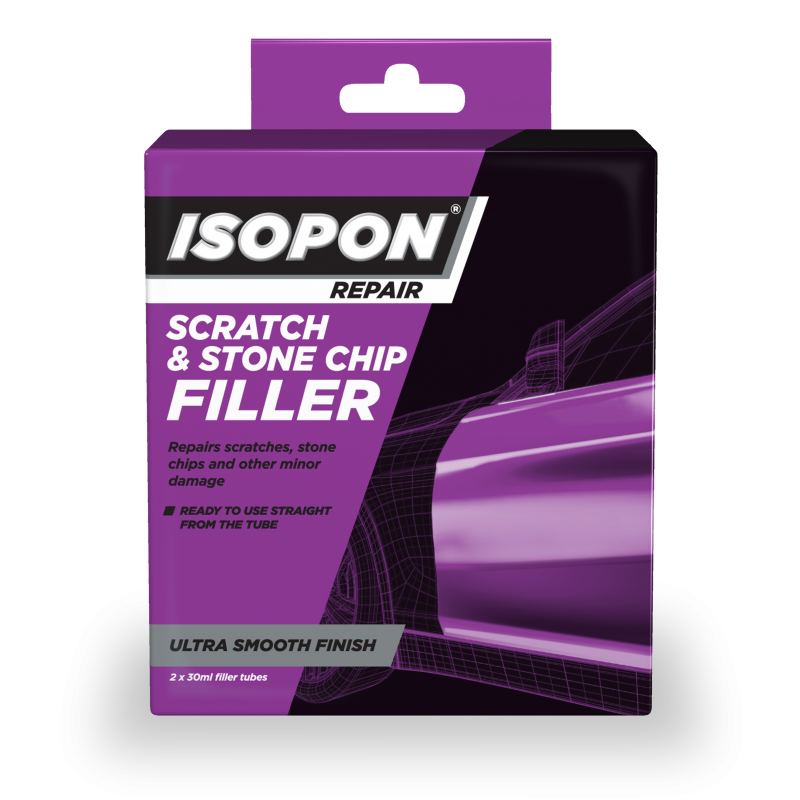
How to Use Isopon’s Scratch and Stone Chip Filler Kit
Using Isopon’s Scratch and Stone Chip Filler Kit to Repair Minor Damage
Difficulty: Easy
Fine scratches and stone chips are some of the most common offenders when it comes to paint damage on cars. When you're driving, stones will bounce up and hit the lower portion of your car, causing small scratches. Thankfully, The Isopon Scratch and Stone Chip Filler Kit helps to fix these little imperfections and make your car look brand new.
Step 1: Preparing your Surface
In order for the filler to be able to stick to the surface, it needs to be clean. Taking a microfibre cloth, you should wipe down the paint to remove any loose paint particles. Then, wash it with a good car cleaner to remove any dirt, grease or wax.
Step 2: Applying the Filler
Before you handle any filler, you should wear protective gloves.
The great thing about this kit is that you can apply the filler straight from the tube onto your scratches. After you squeeze the filler onto your affected area, you should smooth it out with the provided applicator and remove any extra product. The layers should be smooth and thin. Allow this area to dry for about 20 minutes or until hard.
Step 3: Sanding the Area
After the filler is dry, wrap a very fine grit wetordry paper around a sanding block. While spraying generous amounts of water, sand down the filler until it is smooth and blends evenly with the surrounding area.
Now, your surface should be ready to prime and paint.
Products Used In This Tutorial
Isopon Scratch and Stone Chip Filler Kit
Isopon Scratch & Stone Filler, 60ml
Microfibre Cloth
Farecla Finishing Cloth (Pack of 3)
or
Protective gloves
Colad Black Nitrile Gloves Large (Box of 60)
Car Cleaner
Fine Wetordry Paper
3M P1500, 138mm x 230mm, Wetordry Sheet 401Q, Qty of 50
Sanding Block
3M 70 x 125mm Soft Hookit Sanding Hand Block


