
Removing Rust
How remove and prevent rust from spreading
Difficulty: Moderate
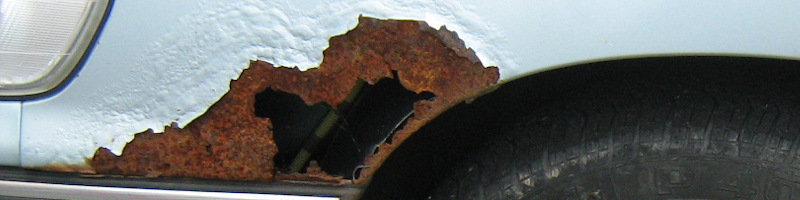
It’s common to get rust around the lower portions of your car when stone chips scratch away at paint and leave the bare metal to rust. Rust will always spread and ruin the look of your car’s paint, making your car look old and worn out. However, thanks to this easy and inexpensive DIY you can remove and prevent the spread of rust. All products used in this tutorial are listed at the bottom of the article.
Step 1: Sanding Away the Rust
This is a very important step to get rid of the rust for good. By removing all the rust, it ensures that the rust won’t reappear in a couple of weeks’ time. It's also important to get down to the bare metal so in later steps when adding the body filler, it will stick better to the panel.
For an even sand around the area, use 60 grit sandpaper wrapped around a sanding block. Because a lot of particles of rust will come off of the metal, it would be wise to wear a dust mask during this step. It is essential to be thorough in this step to get rid of all the rust and get down to the base metal.
Step 2: Applying and Sanding your Body Filler
You should apply body filler with an applicator to reinforce the sanded area, but at this stage, the filler doesn’t need to look perfect, however, it should be reasonably flat and follow the contours of the metal. Now, you need to wait at least 15-20 minutes so the body filler can dry.
Again, wearing your dust mask, sand down the body filler with 80 grit paper and a backing pad to transition smoothly with the metal. You should take your time with this step to make sure it’s the right shape and that you don’t widen the repair area.
Once the shape and is correct and lumps and any lumps have been removed, a final sand with a finer paper is required, again using a sanding block to keep the surface flat. We recommend a paper of at least 240 grit for this step.
After this step, your metal is ready to be primed and painted.
Step 3: Priming your Area
The first priming step is with an etch primer. After the first coat of this, you need to wait a couple of minutes for the primer to dry before you apply a second coat. This etch primer properly treats the bare metal and provides excellent adhesion.
Then, you can add a coat of stone chip protector. This is anti-corrosion and creates a film when dry which helps prevent debris damaging the car and creating more rust by letting the stones bounce right off.
You can now enjoy a completely rust-free and rust-resistant vehicle!
Products Used In This Tutorial
60 Grit Sand Paper
3M P60 Abrasive Sheet, 230 mm x 280 mm, No Hole, Qty of 50
80 Grit Sand Paper
3M P80, 230mm x 280mm, Wetordry Sheet 734, Qty of 25 by Grove
240 Grit Sand Paper
3M P240, 230mm x 280mm, Wetordry Sheet 734, Qty of 25 by Grove
Sanding Block
Fast Mover Dense Rubber Red Sanding Block 125 x 70mm
Dust Mask
MHP FFP2 Face Mask, Pack of 10 - by Grove
Etch Primer
GTi Etch Primer Grey Aerosol 500ml - by Grove
Stone Chip Protector
Isopon Stone Chip Protector Aerosol, 450ml - by Grove
Body Filler
P40 - Body Filler for Holes (Bridging Filler) 600ml